Thursday, April 12, 2012

Feeding Friendship: Pizza Pizza!

This time around, Veronica chose pizza as our cooking challenge. I was so happy, since pizza is one of the things I make when I'm too tired to deal with making something complicated. Her reference to dessert pizza gave me a flashback to birthday parties at Pizza Hut in the late '80s where the buffet always had a dessert pizza topped with fruit. So, I decided to do one of each- savory and dessert pizzas this time around.

My go-to easy pizza secret is using Indian naan flat bread as the crust. Wegman's makes good naan, and I like using the roasted garlic variety for pizzas. The naan is about as big as your head, so it makes a good personal sized pizza that can be customized to your taste. It's extremely simple to make, and you can make any or all elements from scratch- or not. First, pre-heat your oven to 350. Then I slap the naan on a baking sheet and cover it with pizza sauce (Wegman's makes "to go" sauce that isn't canned, so I use that) and shredded mozzarella. Slices of a traditional mozzarella work well too.

most of my ingredients for semi-homemade weeknight pizza

ready for toppings!

Now the toppings are up to you. We like pepperoni, each with a different secondary topping. We both like pesto and chicken with toasted pine nuts, which also goes well on naan. 

Olives for me, onions for George

Once you're done topping and the oven is hot, pop in your pizzas for about 15 minutes, or until the cheese is melted. I like to turn off the oven and use the broiler for just 2-3 minutes on low to crisp up the pepperoni. This requires constant supervision! Do NOT turn on the broiler and then go feed the cat or clean something or otherwise wander off, because your delicious pizza will scorch. Keep an eye on it and take it out before it gets too brown. 

ready! 

mmm! nom nom naan

For my dessert pizza I thought about getting very fancy and making a crust out of cinnamon roll dough and topping it with cherries and sugar glaze to sort of re-create the Pizza Hut experience I remember. That involved a lot of guesswork, though, so I got inspired when I saw this Pillsbury recipe on Pinterest for a spring "pizza" made out of a big cookie. I didn't make this exact thing due to my pathological need to make baked goods from scratch (as opposed to dinner, apparently), but I cribbed the idea. I halved this recipe for sugar cookie bars from A Little Bit Crunchy A Little Bit Rock 'n Roll and put the dough in a pizza pan instead of rectangular baking pan (this is not a Little Caeser's cookie pizza). 

thick sugar cookie dough

dough spread into the pizza pan

Around 10 minutes later I pulled the cookie pizza out of the oven, just as the edges were beginning to brown. It looks remarkably similar on film, but was in fact now a real cookie...just a really big one. 


cooked, I swear

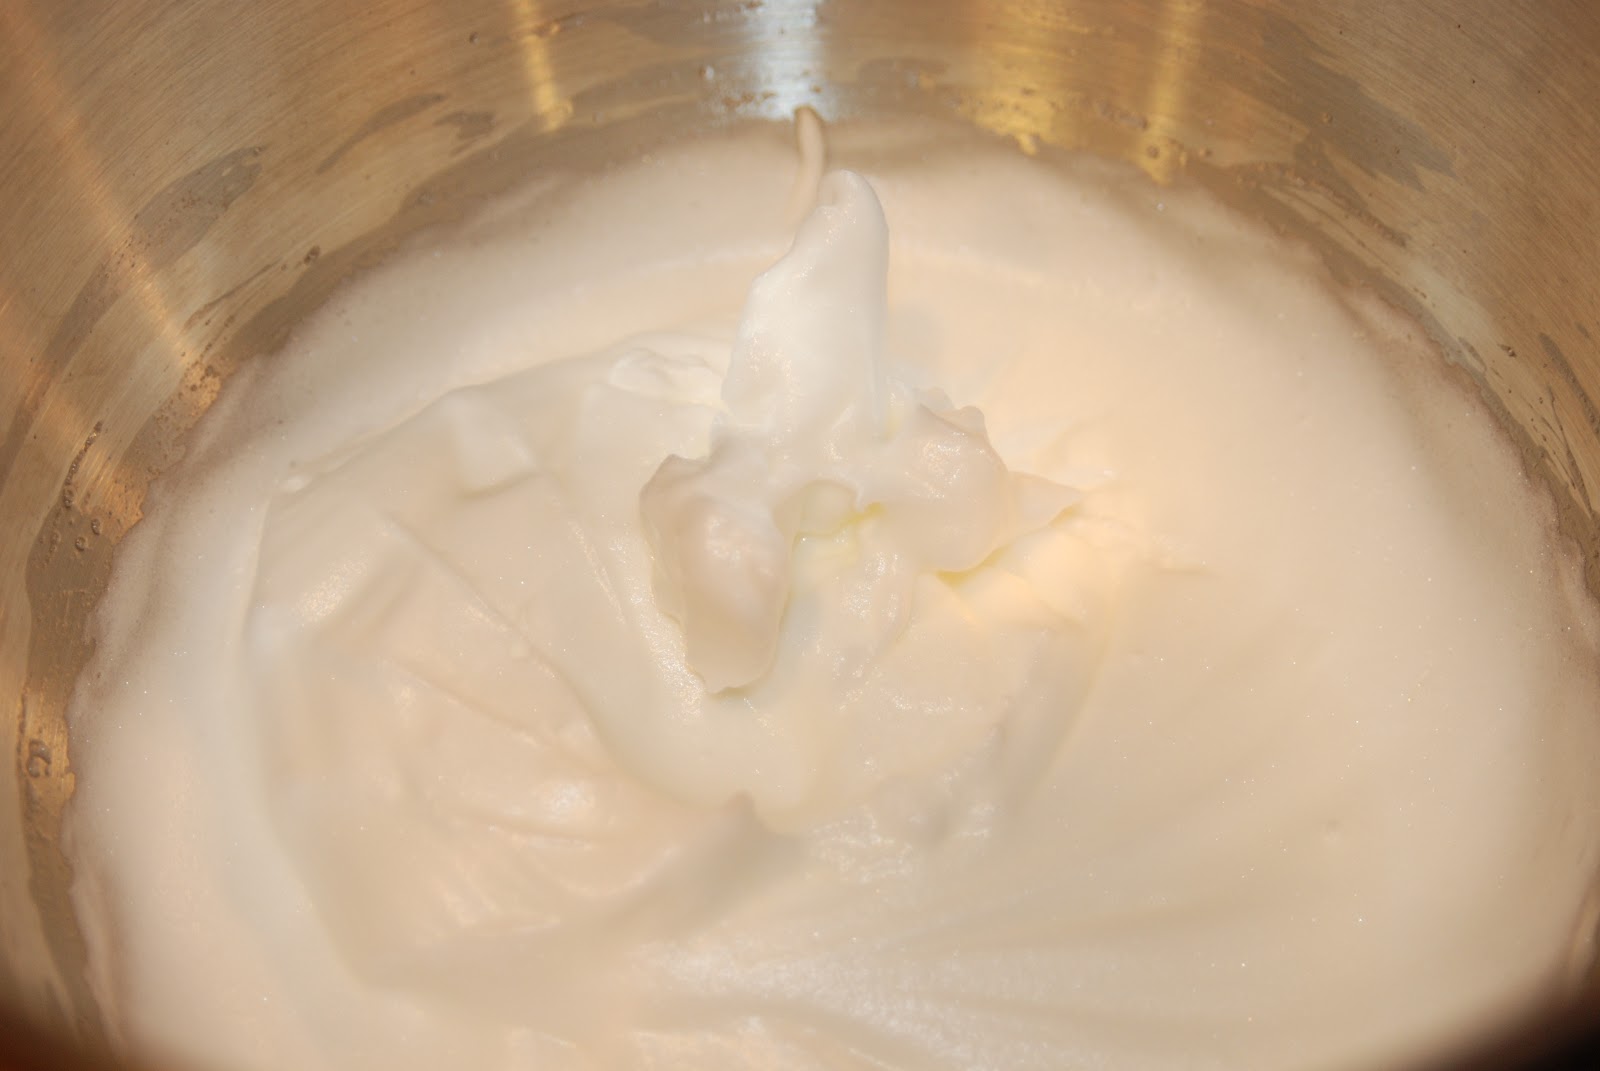
As the pizza cooked, I made the vanilla frosting called for in the bar recipe. It was ready just about the time the cookie was done, but I had to wait a while to frost it so the hot cookie wouldn't melt the frosting. You can obviously use pre-made frosting too, but after looking at the ingredient list on that stuff, you may not want to. From this point you can do tons of cute things for toppings from sprinkles to spring (or any holiday) M&Ms, to crushed Cadbury candy eggs, etc etc. I just had plain chocolate chips around, so that's what I used, but the holiday candies would be very cute too. I don't think I could bring myself to do jelly beans, but whatever floats your boat. Here's the finished product:

chocolate chip "pizza"

close-up!


Try a slice! It's delish!

All in all, my little pizza experiment worked pretty well. The half recipe of both dough and frosting filled up the pan and made a soft, buttery cookie crust for the pizza. The sky is the limit on dessert pizza, just like the real thing! 


Monday, April 2, 2012

Feeding Friendship: Beer me!

Welcome to my slightly delayed FF post for this round. After making my stout cake last time around, I got to thinking about all the dishes that can be made with beer and decided to choose it as our featured ingredient. I actually made 2 items because one was stupid easy and I wanted to try the other recipe. Very quickly, I'll show you the Beer Bread recipe I found and then I'll move on to what the author calls "tipsy chicken" and what I'll call Beer-Brined Grilled Chicken with Curry.

First, to the bread. This was probably the easiest recipe for bread I've made. You literally just dump the ingredients in a bowl, give it a good stir and pour the stuff in a bread pan. No fooling around with yeast because you're adding beer. I foolishly bought a case of Woodchuck Hard Cider a while back because I love it so much, but I don't drink that often, so it just sits. I decided that the hard cider would make a great bread because it's lightly sweet and slightly apple-y, and I was right. Here the link to the recipe on AllRecipes.com. I used 3 cups of 50/50 wheat flour (yes, they sell that) instead of 1.5 cups each of white and wheat flours. I'm sure you could go full on wheat and it would be just as good. Here's a short photo montage of the easy process.

dry ingredients in the mixer

mmm Woodchuck

batter is thoroughly mixed

stir a couple tines with a spatula for good measure

into the pan...

out of the oven!

nom nom nom

See how easy? Just don't burn it and you're good to go! On to the main event- the chicken. I had been wanting to try a "beer can chicken" recipe on the grill because I hear it keeps you bird nice and moist, and it generally looks fun. I thought that this was what my recipe was, but I didn't read thoroughly enough, so I failed in my goal to make beer can chicken, but succeeded in making tasty chicken, which is more important. The good news is that you don't have to use a whole bird for this, you can just do various parts, if you prefer. Also, there's no awkward bird propped up on the beer can part, which made me nervous. You can find the full recipe here. You basically just need some chicken, a beer, water, and a bunch of spices. I wanted the chicken to be flavorful, but not super spicy, so I cut the chili powder in half and traded the cayenne pepper for garlic powder. It already had curry, cumin, paprika, and chili powder, so I was certain it wouldn't be bland. 

To start with you soak the chicken (or parts) in a water/beer mixture for an hour or more. I used a whole bird and don't have many big pots, so I thought I could get away with a gallon plastic bag. This is not a good idea without a bowl or some sort of support mechanism, as I learned when my bird listed and poured funky beer/chicken water all over my counter. Sigh. I decided to use Sapporo beer because I like it and there weren't too many choices of craft beers in my store in cans that weren't IPAs or stouts, which I don't love and didn't want to overpower my chicken. Here's my setup for brining. 

remember to use a bowl, this is dumb

spices!

that's a lot more color than I usually use

If you read the recipe, you may be saying to yourself, 2 Tablespoons of curry AND 2 Tbl of cumin? But curry has cumin in it! And you would be right. But I love cumin, and if loving cumin is wrong, I don't want to be right. However, I had quite a bit of the spice rub left over, despite having a bigger bird than they called for, so you could either half the recipe or just save the rest for later. Maybe you'll cover your chicken more thoroughly too. So after I ditched the brine, I decided to rub the bird down with ~1 Tbl of butter. After successfully carrying off a Thanksgiving turkey, I knew that butter is the key to even browning and spice adhesion, so I went off recipe to add it. Then I smeared the spice mix all over the inside and outside of the bird. 

Post-rub chicken

While the bird was brining, I cleaned the grill and prepped the charcoal. I also started some hickory wood chips soaking in water. We kick it old school with the barbecue grill at our house, so if you do too, I highly highly recommend a chimney starter. Apparently making all the coals cuddle up next to each other in the "chimney" helps them spread the heat faster, and gets your fire started better and faster, with no lighter fluid at all. Observe: 

en fuego!

So right before I was ready to bring the bird down, I dumped the coals carefully in 2 strips along the outside of the grill, leaving a space in the center between them. The grilling calls for indirect heat, so that is how to you do it - put the bird in the center above a space and have the heat coming from adjacent coals on either side. A shout out to my Webster's grilling cookbook for that technique! Ideally you would also add you wood chips before you get the bird there so you don't have to stick them through the grate. Ahem. 

our intrepid chicken is ready to go

I love the smoky flavor of hickory or mesquite- flavor you taste and see!

I crossed my fingers, put on the lid, and left it for half an hour. This is what I found when I went to turn the bird: 

Hurray! What a pretty bird!

some nice grill marks too

The part after the turn took a little more than half an hour- probably 45 minutes- to get it up to 165+ internal temperature. Always use a thermometer with whole birds like this- no place for guesswork here on the road to Salmonellaville. After letting the bird rest a bit- not as long as I should have, probably, since we were starving- we cut in. George did the carving after some initial confusion on my part. 


Despite the lack of a beer can in its butt, the bird stayed moist and the rub was really tasty. I think you just have to be careful not to overcook it. 


Here's what our crack team of carnivores did during the carving. 


Yep, hunted for bugs outside. Sheesh. 

When we had carved as much as we reasonably could off the bird, I started to pitch the carcass and George started making a joke about what his dad would say about us wasting "half the chicken." Then I realized that, duh, I was wasting the chicken! I plopped the rest in a stock pot with some onion, carrot, garlic, bay leaves, salt and pepper and let it boil a few hours for chicken stock. Smells great and will be lots of soup stock later! Anyway, I would definitely recommend this recipe. Lots of flavor and on the whole not that much labor. 

future soup


Tuesday, March 27, 2012

Wontons 2 Ways

Since this post contains what was supposed to be my Valentine's Day dessert, it is massively overdue.  I made the food much closer to V-Day, but not actually on it because my first attempt at making dulce de leche ended up in a large, caramel explosion that coated my kitchen in goo and generally disheartened me.   Several days and some hours of scrubbing later, I rallied to make pork wontons with egg drop soup and a side of what I will term cherry pie wontons with a dulce de leche drizzle.

I used this "crispy wontons" recipe from AllRecipes.com since it was simple to follow and didn't demand any really outrageous ingredients. You make it the cuisinart, so it's pretty simple to whip up a bunch of filling and freeze some for later. The wonton wrappers really don't hold much- more like a teaspoon than a tablespoon- so your filling goes a long way. This recipe calls for pork, but I'm sure you could use beef, chicken or even shrimp. You just have to remember to leave your wonton wrappers in the fridge overnight the night before because they come frozen. As a side note, it took me a lot of looking to realize wrappers would be in the frozen food aisle- God bless the Wegman's app that gives you the aisle number of each product! Now, the wrappers dry out fast, so only lay out 2 or 3 at a time to fill- not like this photo.

pre-made wrappers are fast to use

don't get excited and lay out this many

The wrappers were actually a lot like working with filo dough, just a little more durable. You lay out your wrapper and then spoon your filling into the center, wet 2 consecutive edges of the square with water (I put some in a small bowl for ease), fold opposite corners together into a triangle, then fold in the triangle arms until you get a "home plate" shape. Wet the bottom of the triangle arms too so they will stick down to the main part of the wonton during frying. 

pork filling with scallions and water chestnuts


dollop of filling

folded wontons

I made enough for George and I each to have about a half dozen, then I moved to the frightening  frying stage. I used canola oil since it's supposed to be less bad for you, and you really need enough to cover the wontons here. I heated it to approximately 375 on my candy thermometer and then dropped in my wontons using my big flat scoop with holes that I usually use on pasta. I basically fried them until the top looked slightly brown and then flipped them, removing them when both sides looked slightly brown and done. 

about time to flip 'em

done!

 These would be good with soy sauce, your favorite asian sauce, or just dunked in egg drop soup (which is also super easy to make- the trick is to spin the soup around the pot as you're pouring the egg in to get those ribbons).


Next it was time to do a dessert wonton. I've been eyeing a recipe I got for peach wontons from Pinterest for a while, but peaches are nowhere near in season. Because it was easy and red is festive for Valetine's Day (lo these many days ago), I went with a cherry filling. You could simmer your own and make a simple syrup, yada yada, but I was busy and in a hurry, so I just bought my filling. 

mmm, cherry

I am reminded of a friend's story about bugging his sister for the amazing cherry pie recipe she used to bring to Thanksgiving meals...only to discover years later that she had simply used pre-made filling- ha! Anyway, the cherries are fairly large in comparison to your wrappers, so I could only ever get 2 to 3 cherries in in little "pie." Here is the folding procedure again, with pictures: 

1. fill

2. wet edges


3. triangle fold

4. home plate fold, with moistened "arms"


5. fry those little suckers!

Remove them from the oil when browned or when the filling begins to escape from the edges...whichever comes first. People at fairs have been frying pies for years now, so I thought this would be the cute, mini, quasi-asian equivalent of the fried pie. Next I added some dulce de leche I made in the crock pot (for the love of all that is holy- remember to put the water in the crock pot!!!) and some powdered sugar. 

crock pot dulce de leche, with minimal effort

Tah-dah!

my mini cherry pie wontons with dulce de leche and powdered sugar

These were tasty little dessert bites and would be very good with some vanilla ice cream or fro-yo too. 


Friday, March 16, 2012

Feeding Friendship: Irish Fare

Happy St. Patrick's Day, readers! In honor of the upcoming holiday, Ellie chose Irish food as our theme this time around. The Irish food you'll find most typically in our house is soda bread. I usually make Grandpa McAndrew's recipe (someone's grandpa, but not mine) from AllRecipes.com and add 1/2 tsp of salt to it. It's a pretty dense bread though, so you might also want to try this recipe from a Martha Stewart staffer's mother. But I make that all the time, so I wanted to branch out for the blog this time. With a week out of town and the cold that ensued from air travel, I didn't have much baking time, but when I saw this recipe I knew it was perfect. I acknowledge that there is a low probability that actual Irish people invented this, or even eat this recipe often, but I am certain they would be in favor of it. It combines 3 of many people's favorite vices into one spectacular dessert: beer, coffee, and chocolate. Without further ado, I give you Chocolate (Extra) Stout Layer Cake.


I got this from Bon Appetit's website and it sounded like it was really interesting, so I went out and picked up some Guinness Extra Stout and dark chocolate. I didn't really mean to get extra stout beer, but that was the only Guinness I saw, so that's what I bought. Here is BA's ingredient list: 

Ingredients


cake

  • 3 ounces unsweetened chocolate, chopped
  • 2 1/4 cups all purpose flour
  • 2 teaspoons baking powder
  • 1/2 teaspoon baking soda
  • 1/2 teaspoon salt
  • 14 tablespoons (1 3/4 sticks) salted butter, room temperature
  • 1 1/4 cups plus 3 tablespoons sugar
  • 3 large eggs, separated
  • 3/4 cup chocolate stout, regular stout, or porter
  • 2/3 cup freshly brewed strong coffee

frosting

  • 1 pound bittersweet chocolate (54% to 60% cacao), chopped
  • 2 cups heavy whipping cream
  • 1 teaspoon instant espresso powder

I started out by chopping up my newly acquired unsweetened chocolate. This is not the kind you're going to want to sneak pieces of while chopping- it's pretty gross with no sugar added. 

Ghirardelli 100% cacao 

I threw that in a double boiler and melted it down so it would have time to cool. This is also a good time to put your butter for the frosting out on the counter to come to room temperature. 


Next, I did something really stupid. Have you ever been sick and you just can't get your brain back to 100% for a few days? I've definitely had a case of the stupids recently, and while I was grabbing the dry ingredients for the flour part of the cake mixture, I dumped the first cup of sugar in with the flour. Not good. You are supposed to beat the sugar with the butter separately from the flour. Sigh. So I beat the butter with the remaining 1/4 cup of sugar I didn't throw in the wrong bowl and hoped for the best. I did separate my eggs rather nicely though, so I have documented it for posterity. 


the beaten butter and not quite enough sugar

separated eggs 

Next you add in your egg yolks, one at a time, and then the melted chocolate. 

chocolate Rorschach test

Next it was time for some Guinness Stout and some strong coffee. I used hazelnut flavored coffee because I think it's yummy and am not a huge fan of regular coffee taste. 

As nearly every postcard in Ireland will tell you: Guinness is good for you! 

a little hazelnut french press brewing

After adding the liquids, my batter definitely got a little odd looking and sort of separated. This was fixed by adding the flour mixture and beating well with a hand mixer. 

Much better. I'll spare you the "before"

Next I put my egg whites in my stand mixer for a good beating. I used this time to watch a YouTube video from About.com on how to fold egg whites into batter successfully, never having done it before. I stopped when the whites had formed stiff peaks. 

a peak! 

Apparently the key is just to cut your batter in half with the spatula, turning it over gently, and gently combining the whites with the batter. 

folding in some egg whites

that's some light, fluffy stout batter!

The BA recipe calls for you to bake this in 2 9-inch cake pans and use parchment paper in the pans. In hindsight, I'm sure sure why the paper was necessary. It was convenient for lifting out the cakes to cool, but my paper was very stiff and make the sides of my cake uneven, reproducing the creases in the paper. If I did it again, I would just grease my cake pan well and forget the paper. In my convection oven on 350, the cake was done in 20 minutes, as opposed to 30 in a regular oven setting. 

no schmootz on the toothpick = done! 

While the cake was in the oven, I chopped up more semi sweet chocolate for the frosting and put the heavy cream on to simmer. You add the hot cream to the chopped chocolate, wait a minute, and then whisk until the chocolate is smooth. Observe: 

a mix of chopped baking pieces and chocolate chips

hot cream added

mmm...chocolatey

The recipe calls for espresso powder to be added to the cream. I didn't have any, and didn't want this to be a terribly coffee-flavored dessert, so I tipped in a little vanilla extract instead and called it a day. The frosting is still quite hot and very soupy at this point. I was making this fairly late and thought I might be able to frost the cake the same night I made it, so I put the frosting bowl in the freezer for about 45 minutes until it was a thick, frosting-like consistency. I ended up having to leave it covered in the fridge while I went to work anyway, since frosting a cake at midnight didn't seem like priority anymore, but the freezer trick works. I'll go ahead and say that this is definitely a frosting for those who like their chocolate bittersweet and their desserts not too sweet. I prefer the chocolate sour cream frosting I made at Christmas, but it never hurts to try something new. 

finally frosted! 

Guinness lurking in every bite!

the first piece

This is definitely a grown-up cake and you can tell that it isn't your standard cake mix cake. I kind of like it, and it would be perfect to serve in a pub, but it may not be everyone's favorite.