Tuesday, March 27, 2012

Wontons 2 Ways

Since this post contains what was supposed to be my Valentine's Day dessert, it is massively overdue.  I made the food much closer to V-Day, but not actually on it because my first attempt at making dulce de leche ended up in a large, caramel explosion that coated my kitchen in goo and generally disheartened me.   Several days and some hours of scrubbing later, I rallied to make pork wontons with egg drop soup and a side of what I will term cherry pie wontons with a dulce de leche drizzle.

I used this "crispy wontons" recipe from AllRecipes.com since it was simple to follow and didn't demand any really outrageous ingredients. You make it the cuisinart, so it's pretty simple to whip up a bunch of filling and freeze some for later. The wonton wrappers really don't hold much- more like a teaspoon than a tablespoon- so your filling goes a long way. This recipe calls for pork, but I'm sure you could use beef, chicken or even shrimp. You just have to remember to leave your wonton wrappers in the fridge overnight the night before because they come frozen. As a side note, it took me a lot of looking to realize wrappers would be in the frozen food aisle- God bless the Wegman's app that gives you the aisle number of each product! Now, the wrappers dry out fast, so only lay out 2 or 3 at a time to fill- not like this photo.

pre-made wrappers are fast to use

don't get excited and lay out this many

The wrappers were actually a lot like working with filo dough, just a little more durable. You lay out your wrapper and then spoon your filling into the center, wet 2 consecutive edges of the square with water (I put some in a small bowl for ease), fold opposite corners together into a triangle, then fold in the triangle arms until you get a "home plate" shape. Wet the bottom of the triangle arms too so they will stick down to the main part of the wonton during frying. 

pork filling with scallions and water chestnuts


dollop of filling

folded wontons

I made enough for George and I each to have about a half dozen, then I moved to the frightening  frying stage. I used canola oil since it's supposed to be less bad for you, and you really need enough to cover the wontons here. I heated it to approximately 375 on my candy thermometer and then dropped in my wontons using my big flat scoop with holes that I usually use on pasta. I basically fried them until the top looked slightly brown and then flipped them, removing them when both sides looked slightly brown and done. 

about time to flip 'em

done!

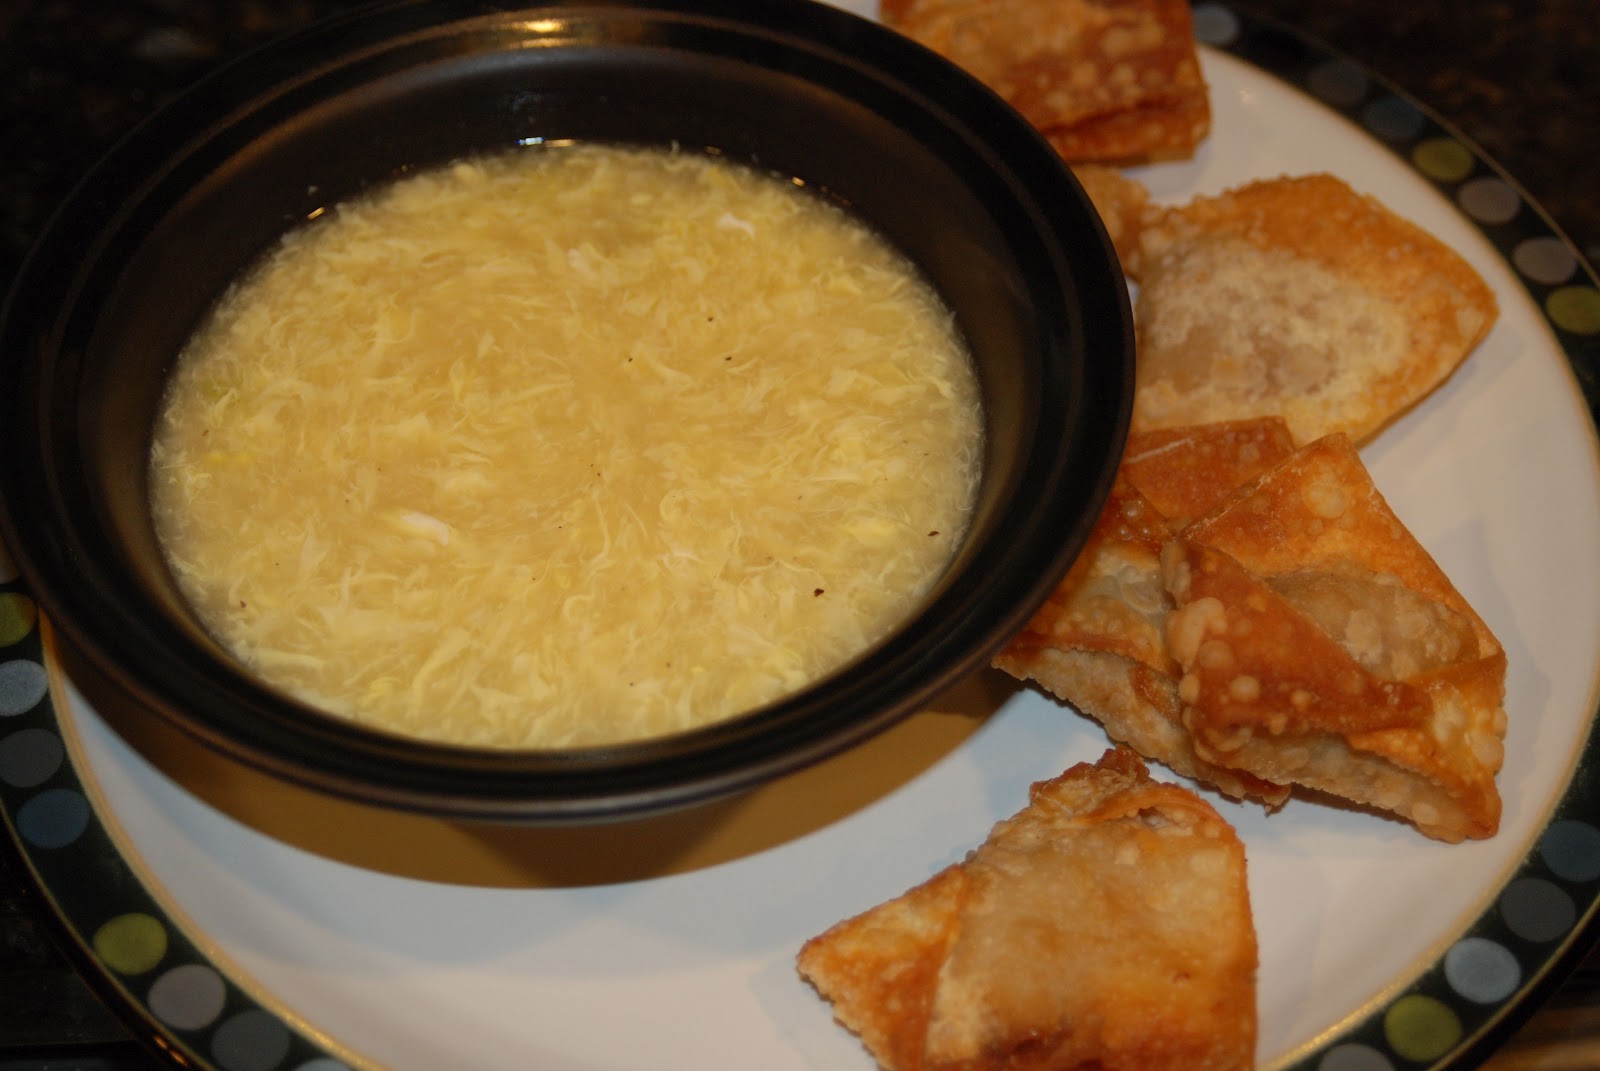
 These would be good with soy sauce, your favorite asian sauce, or just dunked in egg drop soup (which is also super easy to make- the trick is to spin the soup around the pot as you're pouring the egg in to get those ribbons).


Next it was time to do a dessert wonton. I've been eyeing a recipe I got for peach wontons from Pinterest for a while, but peaches are nowhere near in season. Because it was easy and red is festive for Valetine's Day (lo these many days ago), I went with a cherry filling. You could simmer your own and make a simple syrup, yada yada, but I was busy and in a hurry, so I just bought my filling. 

mmm, cherry

I am reminded of a friend's story about bugging his sister for the amazing cherry pie recipe she used to bring to Thanksgiving meals...only to discover years later that she had simply used pre-made filling- ha! Anyway, the cherries are fairly large in comparison to your wrappers, so I could only ever get 2 to 3 cherries in in little "pie." Here is the folding procedure again, with pictures: 

1. fill

2. wet edges


3. triangle fold

4. home plate fold, with moistened "arms"


5. fry those little suckers!

Remove them from the oil when browned or when the filling begins to escape from the edges...whichever comes first. People at fairs have been frying pies for years now, so I thought this would be the cute, mini, quasi-asian equivalent of the fried pie. Next I added some dulce de leche I made in the crock pot (for the love of all that is holy- remember to put the water in the crock pot!!!) and some powdered sugar. 

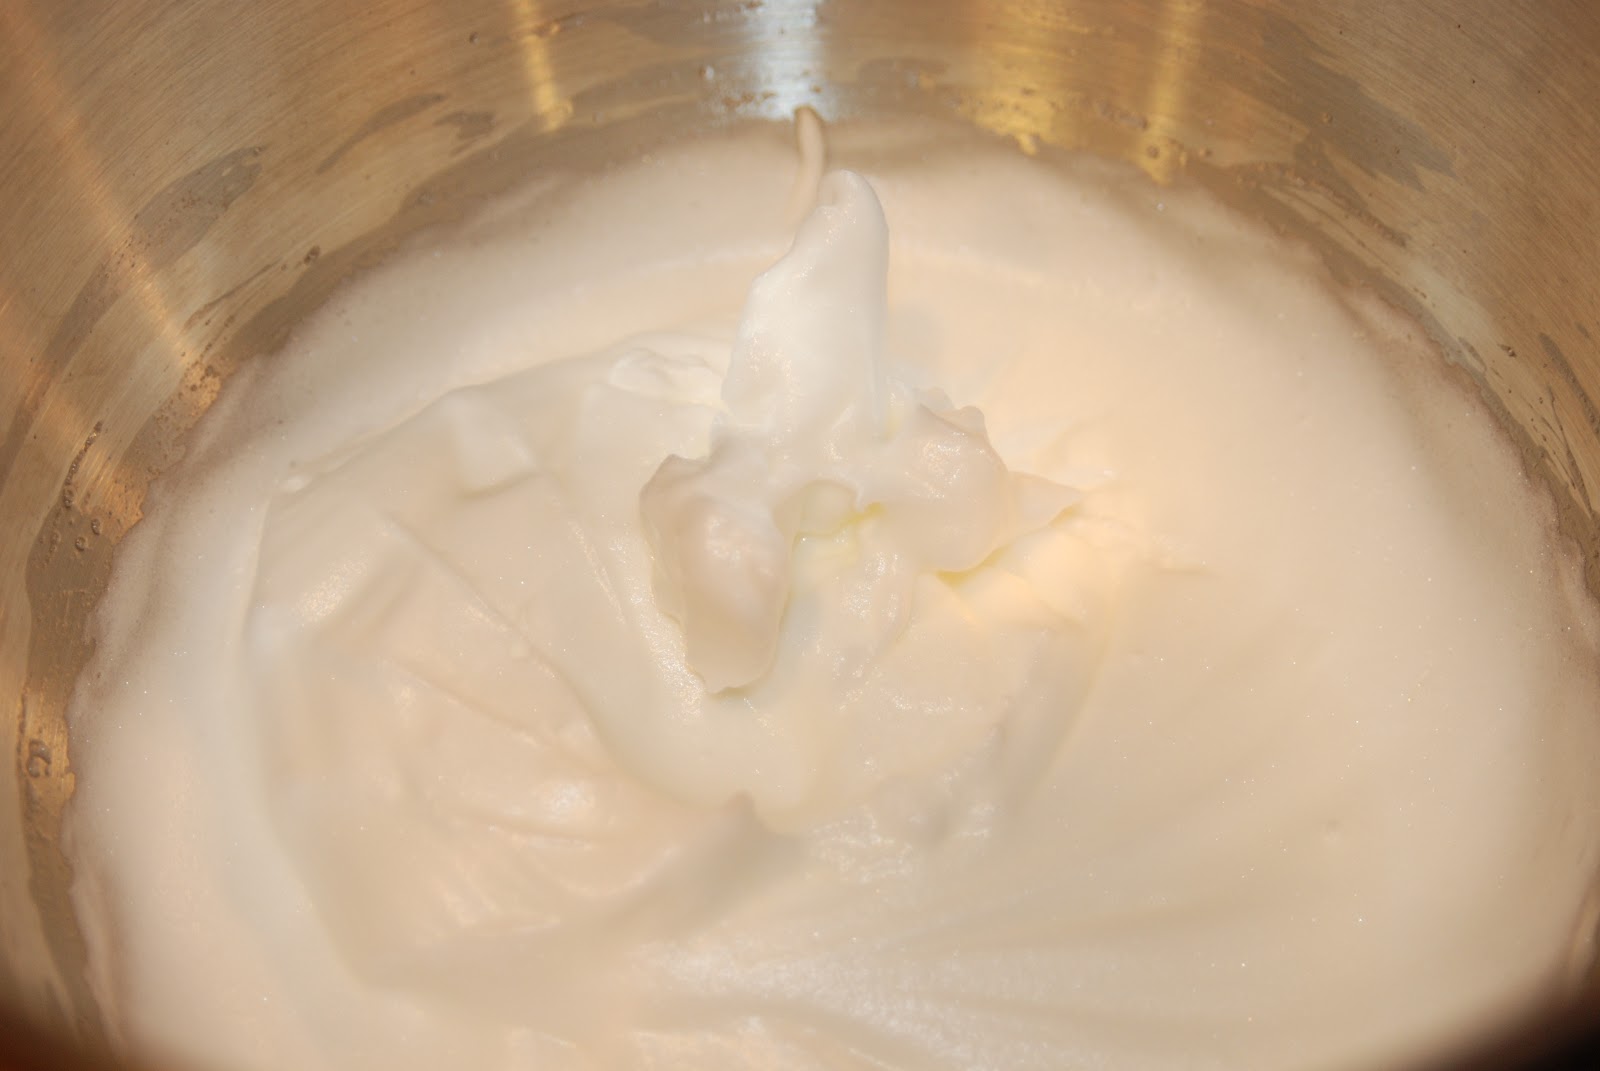
crock pot dulce de leche, with minimal effort

Tah-dah!

my mini cherry pie wontons with dulce de leche and powdered sugar

These were tasty little dessert bites and would be very good with some vanilla ice cream or fro-yo too. 


Friday, March 16, 2012

Feeding Friendship: Irish Fare

Happy St. Patrick's Day, readers! In honor of the upcoming holiday, Ellie chose Irish food as our theme this time around. The Irish food you'll find most typically in our house is soda bread. I usually make Grandpa McAndrew's recipe (someone's grandpa, but not mine) from AllRecipes.com and add 1/2 tsp of salt to it. It's a pretty dense bread though, so you might also want to try this recipe from a Martha Stewart staffer's mother. But I make that all the time, so I wanted to branch out for the blog this time. With a week out of town and the cold that ensued from air travel, I didn't have much baking time, but when I saw this recipe I knew it was perfect. I acknowledge that there is a low probability that actual Irish people invented this, or even eat this recipe often, but I am certain they would be in favor of it. It combines 3 of many people's favorite vices into one spectacular dessert: beer, coffee, and chocolate. Without further ado, I give you Chocolate (Extra) Stout Layer Cake.


I got this from Bon Appetit's website and it sounded like it was really interesting, so I went out and picked up some Guinness Extra Stout and dark chocolate. I didn't really mean to get extra stout beer, but that was the only Guinness I saw, so that's what I bought. Here is BA's ingredient list: 

Ingredients


cake

  • 3 ounces unsweetened chocolate, chopped
  • 2 1/4 cups all purpose flour
  • 2 teaspoons baking powder
  • 1/2 teaspoon baking soda
  • 1/2 teaspoon salt
  • 14 tablespoons (1 3/4 sticks) salted butter, room temperature
  • 1 1/4 cups plus 3 tablespoons sugar
  • 3 large eggs, separated
  • 3/4 cup chocolate stout, regular stout, or porter
  • 2/3 cup freshly brewed strong coffee

frosting

  • 1 pound bittersweet chocolate (54% to 60% cacao), chopped
  • 2 cups heavy whipping cream
  • 1 teaspoon instant espresso powder

I started out by chopping up my newly acquired unsweetened chocolate. This is not the kind you're going to want to sneak pieces of while chopping- it's pretty gross with no sugar added. 

Ghirardelli 100% cacao 

I threw that in a double boiler and melted it down so it would have time to cool. This is also a good time to put your butter for the frosting out on the counter to come to room temperature. 


Next, I did something really stupid. Have you ever been sick and you just can't get your brain back to 100% for a few days? I've definitely had a case of the stupids recently, and while I was grabbing the dry ingredients for the flour part of the cake mixture, I dumped the first cup of sugar in with the flour. Not good. You are supposed to beat the sugar with the butter separately from the flour. Sigh. So I beat the butter with the remaining 1/4 cup of sugar I didn't throw in the wrong bowl and hoped for the best. I did separate my eggs rather nicely though, so I have documented it for posterity. 


the beaten butter and not quite enough sugar

separated eggs 

Next you add in your egg yolks, one at a time, and then the melted chocolate. 

chocolate Rorschach test

Next it was time for some Guinness Stout and some strong coffee. I used hazelnut flavored coffee because I think it's yummy and am not a huge fan of regular coffee taste. 

As nearly every postcard in Ireland will tell you: Guinness is good for you! 

a little hazelnut french press brewing

After adding the liquids, my batter definitely got a little odd looking and sort of separated. This was fixed by adding the flour mixture and beating well with a hand mixer. 

Much better. I'll spare you the "before"

Next I put my egg whites in my stand mixer for a good beating. I used this time to watch a YouTube video from About.com on how to fold egg whites into batter successfully, never having done it before. I stopped when the whites had formed stiff peaks. 

a peak! 

Apparently the key is just to cut your batter in half with the spatula, turning it over gently, and gently combining the whites with the batter. 

folding in some egg whites

that's some light, fluffy stout batter!

The BA recipe calls for you to bake this in 2 9-inch cake pans and use parchment paper in the pans. In hindsight, I'm sure sure why the paper was necessary. It was convenient for lifting out the cakes to cool, but my paper was very stiff and make the sides of my cake uneven, reproducing the creases in the paper. If I did it again, I would just grease my cake pan well and forget the paper. In my convection oven on 350, the cake was done in 20 minutes, as opposed to 30 in a regular oven setting. 

no schmootz on the toothpick = done! 

While the cake was in the oven, I chopped up more semi sweet chocolate for the frosting and put the heavy cream on to simmer. You add the hot cream to the chopped chocolate, wait a minute, and then whisk until the chocolate is smooth. Observe: 

a mix of chopped baking pieces and chocolate chips

hot cream added

mmm...chocolatey

The recipe calls for espresso powder to be added to the cream. I didn't have any, and didn't want this to be a terribly coffee-flavored dessert, so I tipped in a little vanilla extract instead and called it a day. The frosting is still quite hot and very soupy at this point. I was making this fairly late and thought I might be able to frost the cake the same night I made it, so I put the frosting bowl in the freezer for about 45 minutes until it was a thick, frosting-like consistency. I ended up having to leave it covered in the fridge while I went to work anyway, since frosting a cake at midnight didn't seem like priority anymore, but the freezer trick works. I'll go ahead and say that this is definitely a frosting for those who like their chocolate bittersweet and their desserts not too sweet. I prefer the chocolate sour cream frosting I made at Christmas, but it never hurts to try something new. 

finally frosted! 

Guinness lurking in every bite!

the first piece

This is definitely a grown-up cake and you can tell that it isn't your standard cake mix cake. I kind of like it, and it would be perfect to serve in a pub, but it may not be everyone's favorite. 


Thursday, March 1, 2012

Feeding Friendship: Beets

Well, friends I'm not gonna lie. I was not excited about the choice of beets as our ingredient. In fact, I had never knowingly consumed a beet in my life until now. I hear they taste "earthy" and I know where some dirt is if I get the hankering...but no matter. The blog must go on.


I turned, as I am wont to do in times of culinary stress, to my friend pasta. After scouting many beet-related options online, I settled on Mario Batali's Roasted Beet Pasta recipe. Once upon a time I registered for, and received, a pasta machine for our wedding, but had sadly not unwrapped it, so I decided that it was time.

You can find the recipe online here. It required very little other than the said beets, flour (lots and lots of flour), and eggs. I chose to make a half recipe since I wasn't sure beet pasta was appetizing enough for me to want to make an entire pound of it.

Warning: This is a rather time-consuming process. You may want to roast the beets one night and make the pasta the next if you decide to attempt this.

I started out by washing the beets, trimming off the irrelevant portions, placing them on a foil-lined baking dish with a little olive oil & fancy salt and roasting them for a little under an hour. Your cooking time may vary, so check them with a fork.


Waiting to be roasted

Roasted beets

The next step (after letting them cool) is to peel the beets. This was more difficult than I imagined due to the very nature and texture of the beets. Once you put them under running water to help peel them, as Mario suggests, I found it very difficult to tell which parts of the beet had been peeled and which hadn't. Oy. If I did this again, I might try peeling them before roasting. Once you're done peeling, dice the beets up, but you don't have to be too particular- they're getting pureed anyway. 

diced beets...smells like dirt

I used a blender instead of my food processor with somewhat poor results- I had to keep scraping the sides or the blades wouldn't touch the beets, so I would definitely recommend the processor over a blender in this case.

beet puree...smells like wet dirt

Now you're ready to start your pasta! Batali's directions are spot on here. I actually attended a cooking course in Italy a few years back, and this is the way they made their dough, so I can vouch for its effectiveness and authenticity. You put your flour in the shape of a ring or a volcano with a crater in the middle. Then you put your wet ingredients in the center and slowly stir to combine more and more of the flour. 

one and a "half" large eggs- the half is egg beaters

eggs & beet puree

I used a fork at first because the eggs were so wet to start with. I was also recommend adding a couple grinds or a pinch of salt to the beets at this stage. I think it would improve the flavor of the pasta later. 

Pre-pasta: pretty in pink

So once you've got a good amount of flour mixed in and your dough becomes something resembling a smooshy solid, it's time to start mixing with your hands. With beet pasta, this resulted in some incredibly purple hands and a difficult time taking photos without covering the camera in purple flour. Keep kneading until it becomes a dough and follow Mario's directions. 

here's my finished dough wrapped in plastic and ready to rest

At this point, I had spent nearly 2 hours (including roasting time) the first night and I threw in the towel. I put the wrapped dough in a plastic bag and refrigerated it overnight. Is this a good plan? I have no idea, but my dough seemed no worse for the wear, though (improbably) it became even more purple overnight. I let it come to room temperature for at least 45 minutes before proceeding. 

that's some purple dough

Here's where Mario gets vague. He just says to "roll out" your pasta and you're pretty much done. Thanks for nothing, big guy. A combination of my cooking class and the directions for the pasta machine enables me to tell you to flour the dough heavily and run it through your pasta machine on the largest setting several times, folding the dough in two and flouring between each pass. Turn the setting increasingly smaller and keep flouring and passing the dough through. With this beet dough I could tell almost immediately that it wasn't as durable as regular pasta dough, so I only went down 1 notch on my machine before I started having holes. 

feeding the floured dough


not a fruit rollup


sticky purple dough

I decided I had better just leave it pretty thick and run it through the fettuccine attachment as it stood. This went fairly well, though I would recommend flouring the noodles and separating them immediately so they don't stick together when you're done. 

Wee! Noodles! 

Purple noodle mess

After I had my two batches cut and separated, I boiled some water and cooked the noodles for a couple of minutes in the boiling water, until they became buoyant and were cooked through. I then drained them and added sauce. 


Purple pasta!

Now, if I were a Top Chef contestant doing some sort of beet challenge, I would have made some sort of simple butter or cream sauce to "showcase" the beet flavor. I am not that brave, so I hid it under some pomodoro sauce. I think this was for the best. All that labor basically created ugly, purple homemade noodles that were fine, but had a slight aftertaste of, well, dirt. Some people dig it, apparently, (hey-o!) but I'm not going to be joining the Shroot family on the beet farm anytime soon. Would I do this process again with spinach? Yes. With beets? No. 
  

mmm...?